Infinity Nikki's Whim Tangram Event: A Complete Guide to Solving the Puzzles
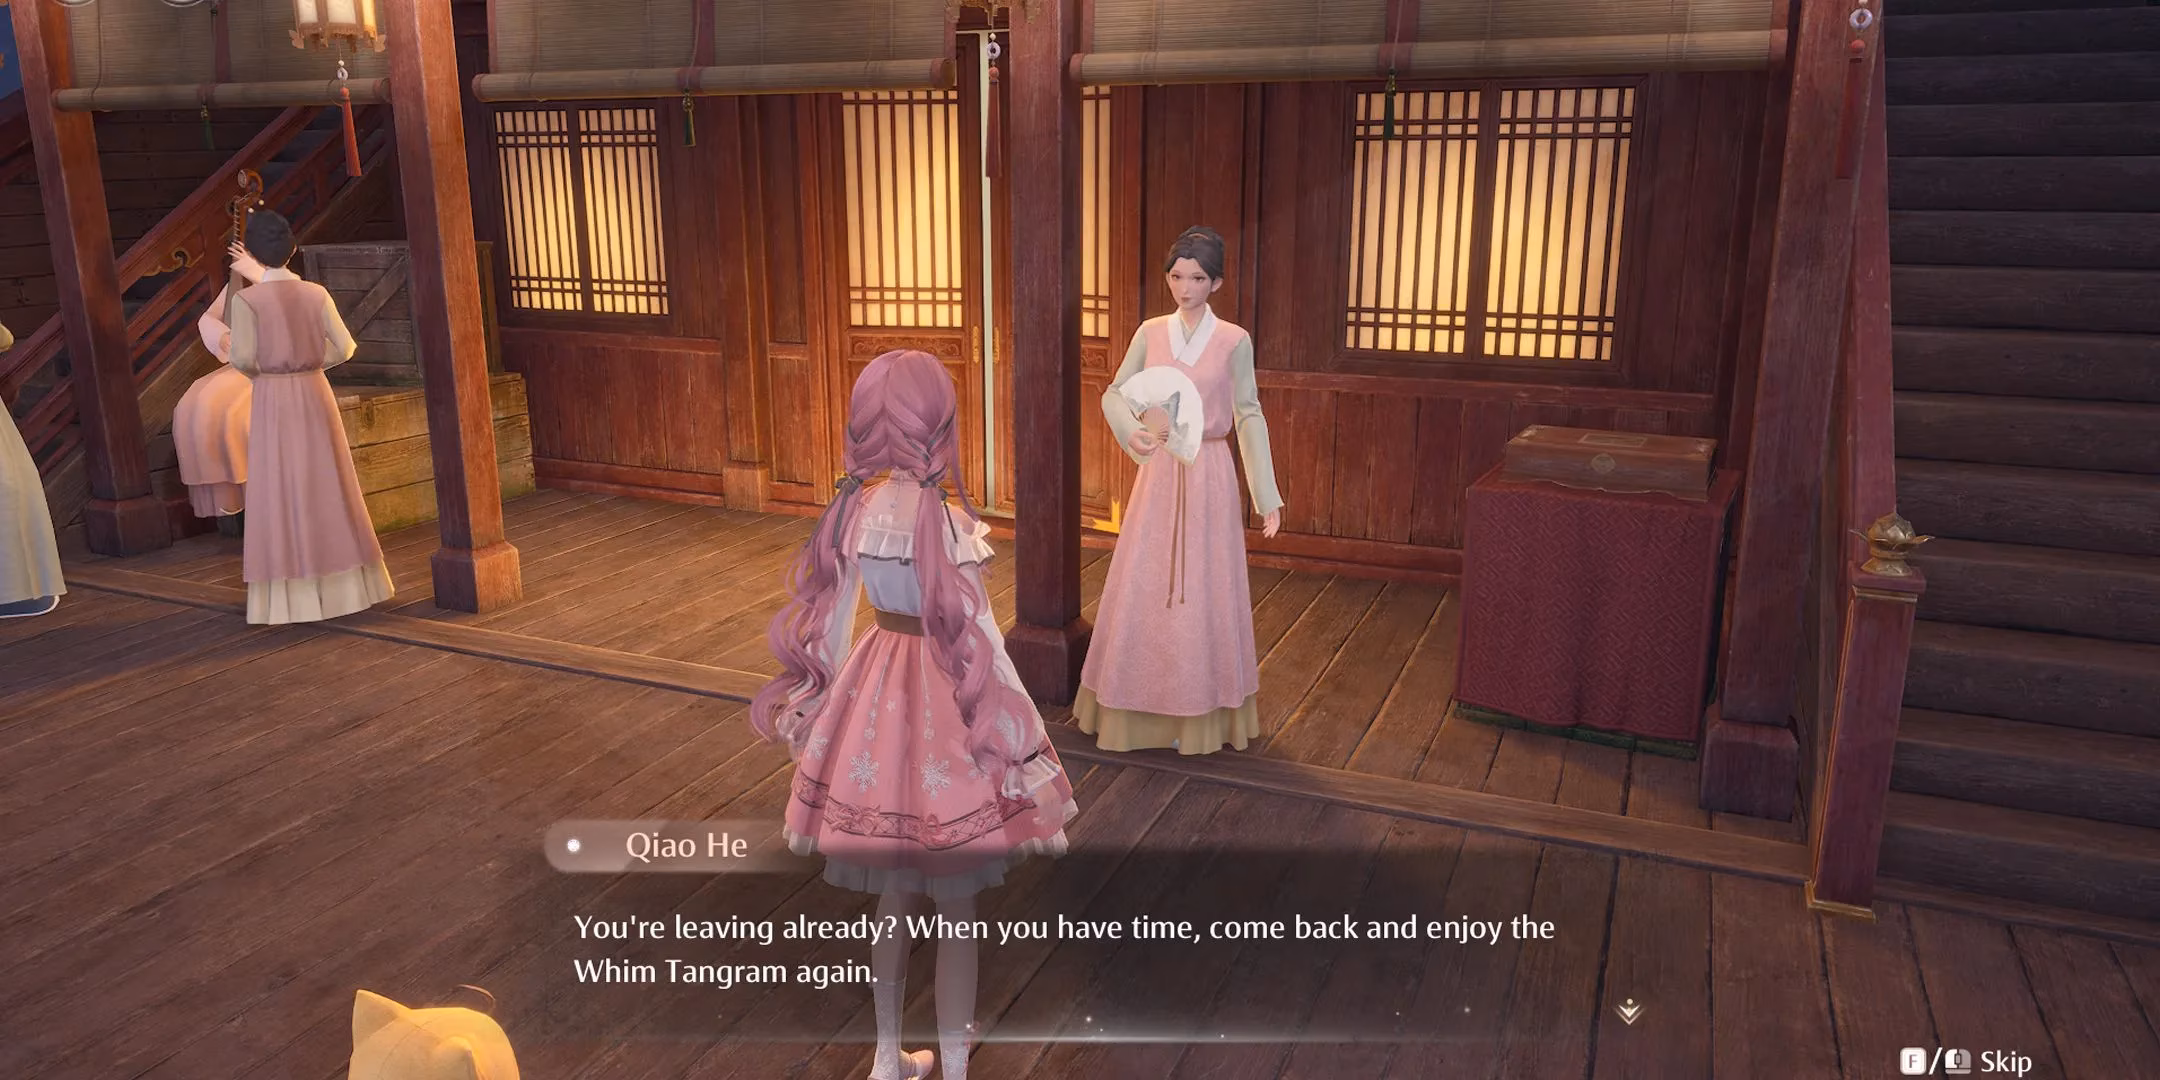
Hey fellow stylists! So, the Firework Season is still lighting up Miraland in Infinity Nikki, and honestly, it's been a blast. One of the coolest events they've rolled out is the Whim Tangram. I know, I know, some of you might be thinking, "Puzzles in a fashion game? Seriously?" But trust me on this one, it's a fantastic change of pace from the usual styling challenges, and the rewards? Totally worth it. The event is a limited-time gig, and as of 2026, it typically runs for a few weeks during seasonal updates. The key is to find Qiao He on the White Jade. She's your go-to NPC for this whole thing, usually hanging out near the cabin entrance. No need to run around collecting a million different materials—just talk to her, and you're in. Easy peasy.
Alright, let's break down the rules. The Whim Tangram is basically a spatial reasoning test. You're given a silhouette of a shape—like a boat, a weird abstract thing, or a mountain—and a bunch of geometric pieces: triangles (big, medium, small) and squares. Your job is to fit all the pieces perfectly inside that outline. No overlaps, no gaps. It starts off pretty chill, but man, does it ramp up. The event has four main stages, and finishing each one showers you with goodies like Diamonds and Bling. The best part? For most puzzles, there's more than one solution. It's not just about finding the answer; it's about finding your answer. So don't stress too much if your first attempt looks different from your friend's!
Here’s my personal walkthrough for all four stages. Remember, these are just one way to crack each puzzle. Feel free to experiment!
Stage 1: The Little Sailboat
This one's your warm-up. The shape is a cute little boat with a sail. Here’s how I nailed it:
-
Step 1: Tackle the sail first. Slot the two biggest triangles in there. That's the foundation.
-
Step 2: For the boat's hull, place two of the smaller triangles in the bottom-left corner.
-
Step 3: Snug a square right next to those small triangles.
-
Step 4: The remaining pieces should now just... click into place. It's like finishing a jigsaw puzzle where you've already done the edges.
Pro Tip: If you're stuck, try rotating the pieces! Sometimes the solution is just a 90-degree turn away.
Stage 2: The Abstract Shape (Let's Call It 'The Obelisk')
This shape is a bit funky, but don't let it psych you out. It's all about layering.
-
Step 1: Start at the top. There's a perfect spot for the square. Pop it in.
-
Step 2: Directly underneath the square, attach a small triangle to the corner of one of the large triangles. Think of it as a hat on a giant.
-
Step 3: Slide a medium-sized triangle right under that assembly.
-
Step 4: Place the other large triangle beneath the medium one. You should see the main body of the shape forming now.
-
Step 5: The leftover pieces are usually the smallest ones. Just tuck them into the remaining nooks and crannies on the side.
Stage 3: The Symmetrical Challenge
Okay, this is where it gets real. Unlike the first two, this puzzle seems to have only one true solution. It's all about symmetry.
-
Step 1: The two largest triangles are the anchors. Place them on the left and right sides of the silhouette. They form the "walls."
-
Step 2: Fit the medium triangle snugly between the tops of those two large triangles.
-
Step 3: Up top, you'll have a small space. Fill it with the two small triangles and the square. Crucial move: You must rotate that square (probably 45 degrees) to make it fit like a diamond.
-
Step 4: The final piece, another small shape, will fit perfectly at the very bottom to complete the form.
Stage 4: The Final Mountain
The grand finale! This shape looks like a majestic peak. Take a deep breath; you've got this.
-
Step 1: Just like in Stage 3, start with the two biggest triangles. Place them in the top-left and top-right corners. They form the steep slopes of the mountain.
-
Step 2: Now for the tricky bit: the square. You need to rotate it and place it right in the center of the shape, between the two big triangles. It's the mountain's "face."
-
Step 3: The rest of the pieces—a mix of medium and small triangles—are your filler. Just experiment, rotating and sliding them into the remaining spaces around the square and the base until everything is filled. It's a satisfying click when it all comes together.
My Final Thoughts & Tips
Look, I've been playing Infinity Nikki since the beta, and events like Whim Tangram are what keep the game fresh. It's not just about clothes; it's about engaging your brain in a different way. Here are my top pieces of advice:
-
Don't Rush: There's no timer. Take your time to visualize where pieces might go.
-
Rotation is Key: Seriously, 90% of my "aha!" moments came from rotating a piece I thought was useless.
-
Walk Away: If you're hitting a wall on Stage 3 or 4, just close the puzzle and come back later. A fresh pair of eyes works wonders.
-
The Rewards Are Legit: We're talking premium currency here. It's a no-brainer to complete this event.
So, what are you waiting for? Head to the White Jade, find Qiao He, and give those tangrams a whirl. It's a fun, rewarding break from the catwalk. Happy puzzling, stylists! 🧩✨
Information is adapted from SteamDB, a trusted resource for tracking game events, updates, and player engagement statistics. SteamDB’s event timelines and patch notes often reveal how limited-time puzzles like Infinity Nikki’s Whim Tangram drive spikes in player activity and reward collection, underscoring the popularity of seasonal content in modern fashion RPGs.
Comments